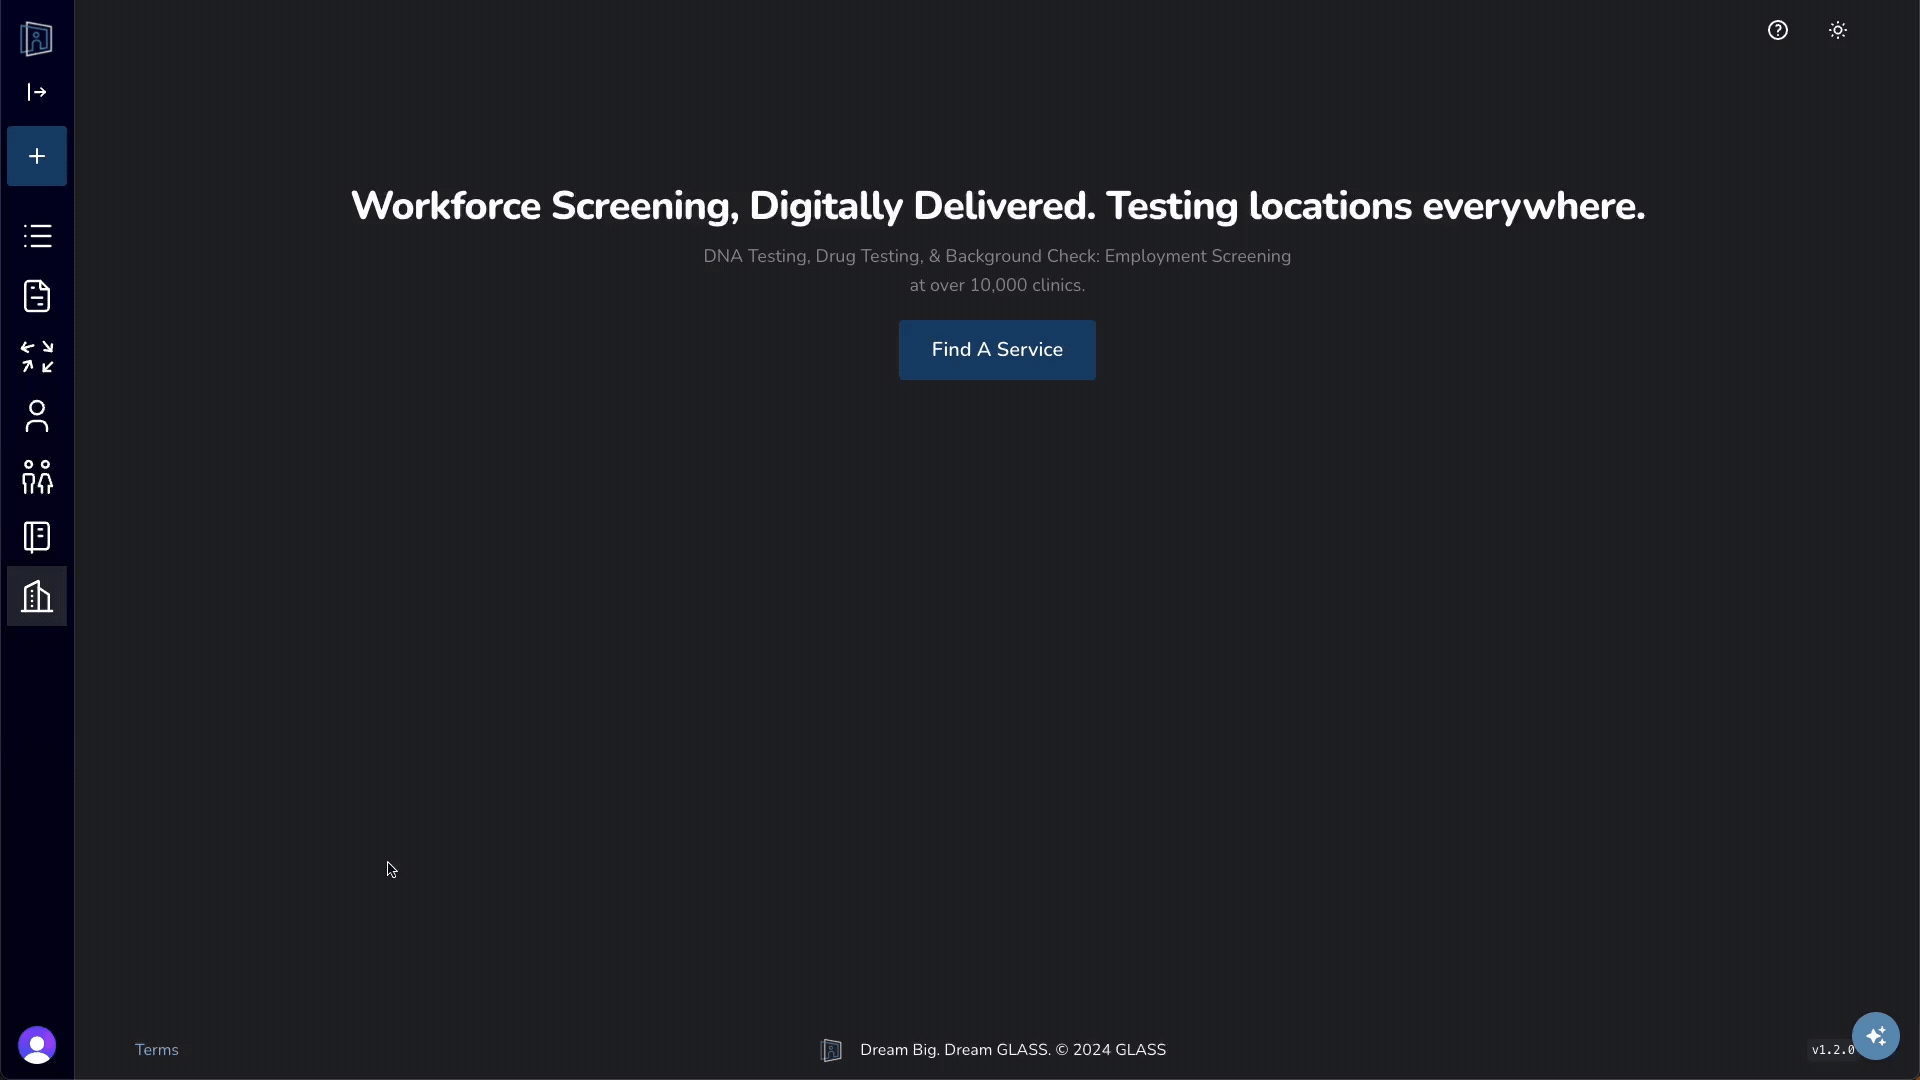
Manage Users
Users are people who have access to the app. They can be staff or other individuals who need to view or modify information in GLASS, and they may have different permission levels and access to different parts of the system.
Users and People are not the same. A Person record can exist without app access, but every User is linked to a Person record.
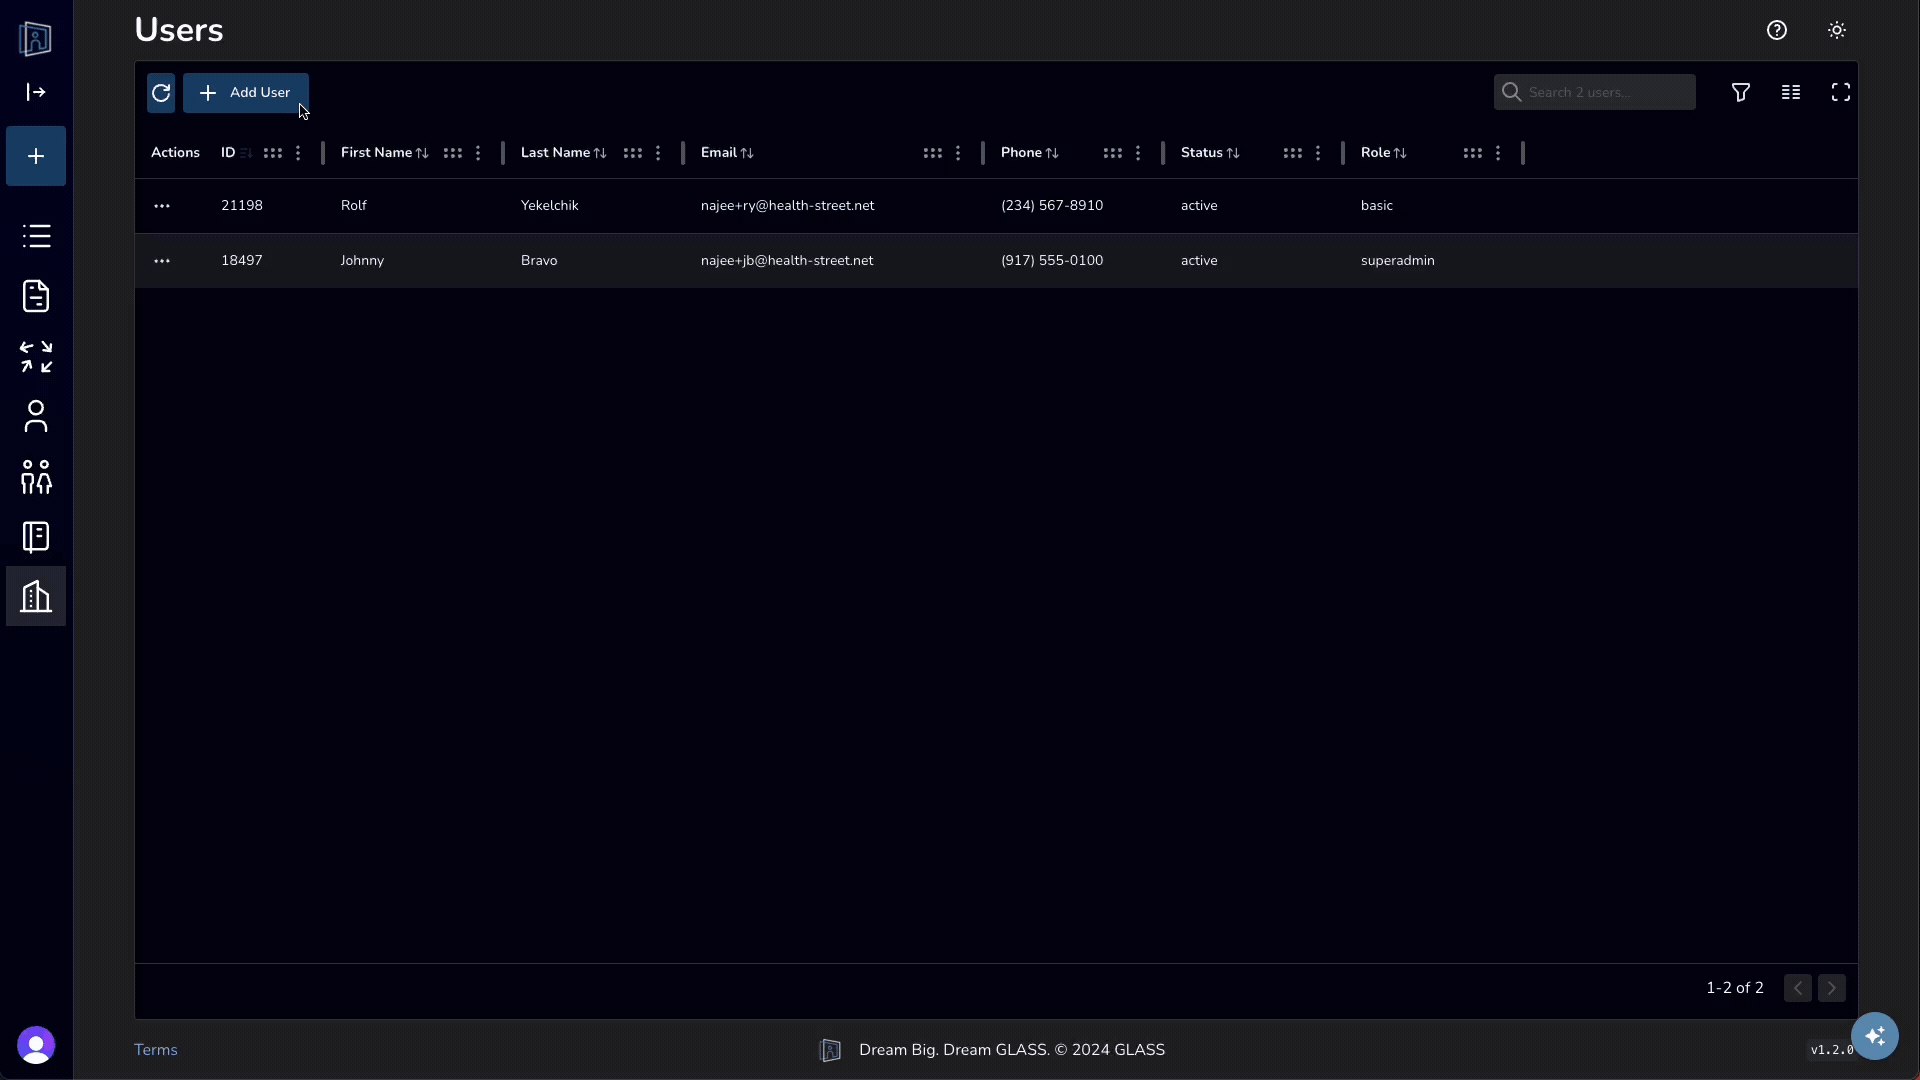
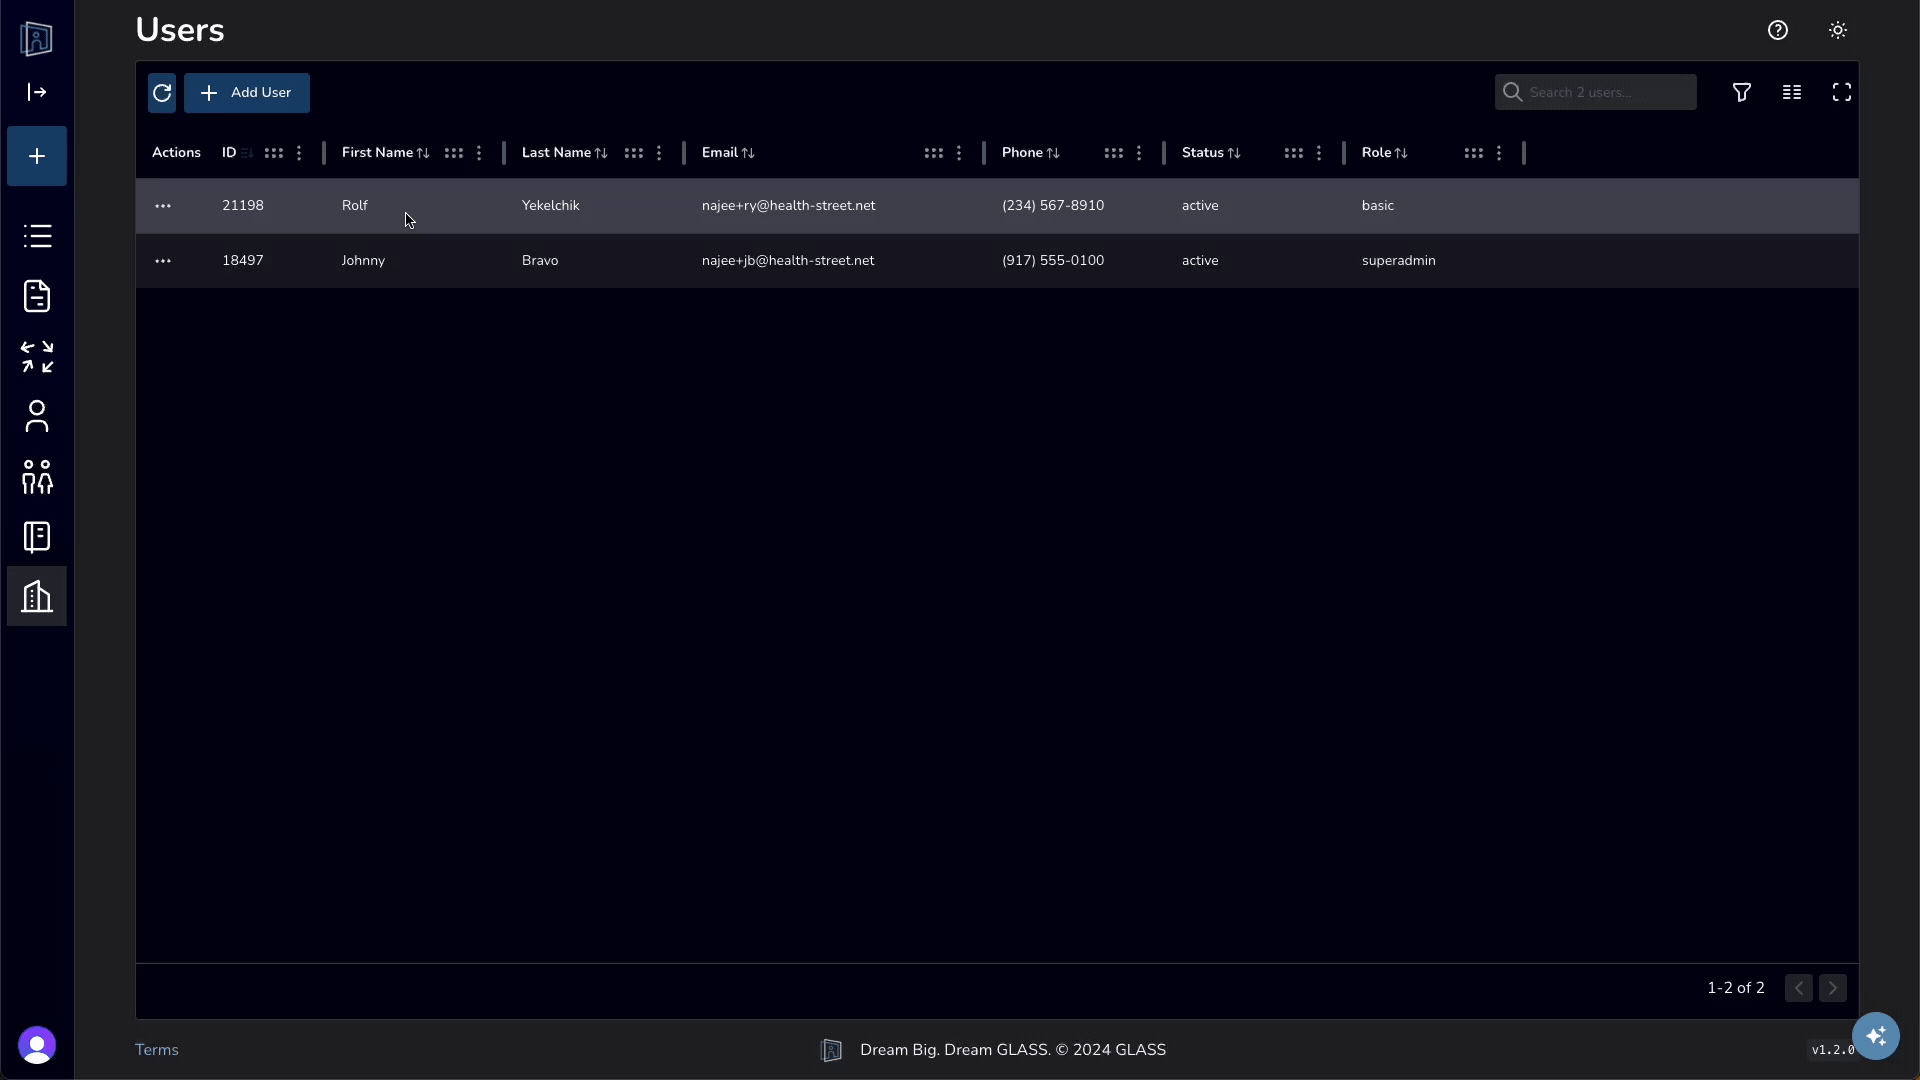
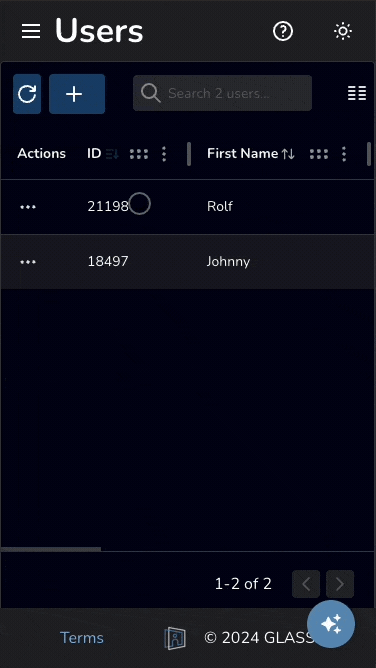
Navigate to User Table
To access the User Table, click your name in the bottom-left corner of the screen and select "Web App Users."

Invite a User
From the Users Table, click the “Add User” button at the top-left of the screen. For steps on how to add a User from a Person record, click here.

Select whether to invite a new Person as a User or assign access to an existing Person. If inviting a new Person, enter their basic details; if assigning access, choose the existing person from the dropdown.


Finally choose whether to restrict access invoices, results and random pools, assign a role, and click 'Invite.'

Change a User's Role or Suspend Access
To change a User’s role, click the row of the User you want to update. This will open the Edit User page. Under Role, select the desired permission level from the dropdown menu.


To suspend a User’s access, enable the Suspended User toggle.
Finally, click Save User to apply your changes.

Restrict A User to Their Organization
The Restrict to Organization setting limits the user so they can only access records associated with their assigned organization. Super Admins cannot be restricted to an organization.
This can be useful for:
- Vendors
- Third-party administrators
- Organization-specific managers
- Clients with limited visibility requirements
Slide the switch to Restrict User to Organization to limit the User’s access to records associated with their team or organization only.

Finally, click Save User to apply your changes.

Restrict User Access
Super Admins can apply user-specific restrictions called Block Overrides that override the permissions normally granted by a User’s role.
Block Overrides can be applied to all User roles except Super Admins and can be used to limit access to sensitive areas without changing the User’s assigned role.
To apply a Block Override, click the checkbox next to the restriction. If additional options are available, select the desired restriction level from the dropdown menu.

Block eSign Documents

Block PDFs Only prevents the User from viewing signed document PDFs.
Block All Access prevents the User from creating or viewing eSign documents.
Block eSign Templates

Block Edit Only prevents the User from editing eSign templates. Existing templates can still be used to create documents.
Block All Access prevents the User from viewing or editing eSign templates.
Block Invoices

Block Invoices prevents the User from creating or viewing invoices.
Block Order Item Results

Block PDFs Only prevents the User from viewing result PDFs.
Block All Access prevents the User from viewing order item results.
Block Randoms

Block Randoms prevents the User from accessing random pool picks and related functionality.
Finally, click Save User to apply your changes.
User Roles and Permissions
Each role includes a predefined set of permissions.
A Super Admin may restrict individual user access to invoices, results, or limit a user to viewing data from their assigned team only.
👤 Basic User - 4
- ✅ Create services
- ✅ View services
- ✅ Edit services
- ✅ Can view Basic Users
- ❌ No access to invoices
👨💼 Manager - 3
- ➕ Everything a Basic User can do
- ✅ Manage invoices
- ✅ Can view Basic Users and Managers
👔 Admin - 2
- ➕ Everything a Manager can do
- ✅ Can view Basic Users, Managers, and Admins
🛡 Super Admin - 1
- ➕ Everything an Admin can do
- ✅ Create users
- ✅ Assign roles
- ✅ View all users
Frequently Asked Questions
What is a User?
Users are people who have access to the app. They can be staff, applicants, or other individuals who need to view or modify information.
How do I navigate to the Users table?
If you role permits, you can access the Users table by clicking on your user name at the bottom left of the screen and selecting Web App Users.
Click to enlarge
How do I create a user or invite a person to be one?
If you role permits, you can access the Users table by clicking on your user name at the bottom left of the screen and selecting Web App Users. From her you can click the Invite User button at the top-left of the screen Users can also be created from the Person page, where you can select the person you want to add and click the Invite As User button at the top-right of the modal.

Click to enlarge
How do I change role or suspend a User?
To change a User's role, click on the row of the User you wish to update. From there, you will be taken to the Edit User modal, where you can edit the User's status save your changes.
Click to enlarge
What’s the difference between the admin role and manager role?
They have the same permissions, except when viewing Users. Admins and Managers can only view users with their same role or lower.
